



You put money into the floor. For a while it looked exactly like it was supposed to — clean, sealed, holding up. Then something changed. Maybe bubbles started appearing near the garage door. Maybe a section near the drain is lifting at the edges. Maybe you came back after winter and found the coating peeling in sheets.
The frustrating thing about epoxy resin floor coating failure is that it almost never announces itself during installation. The floor looks fine when the crew leaves. The problems show up weeks or months later, and by then tracing them back to the actual cause takes some work.
This guide covers what each failure type looks like, why it happens, and what it takes to actually fix it — not just patch over the symptom.
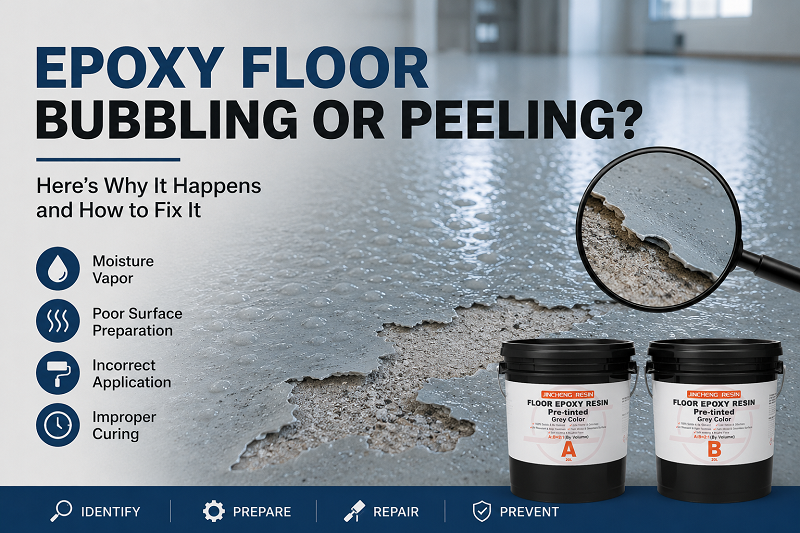
What You’re Looking At: Four Failure Types
Before anything else, identify what you’re dealing with. The visible symptom points toward specific causes, and the fix depends on getting the diagnosis right.
Bubbles and blisters. Small to medium raised domes across the surface, sometimes concentrated in one area, sometimes scattered. May be filled with air or moisture. The coating hasn’t peeled yet — it’s lifting from below.
Pinholes and craters. Tiny pits or holes that look like the coating had gas passing through it during cure. Usually cosmetic in isolation, but if widespread, signal a systemic application problem.
Peeling and flaking. The topcoat or base coat is physically separating — in chips, strips, or large intact sheets. The concrete underneath may be clean (adhesive failure) or may have a thin layer of concrete attached to the back of the peel (cohesive failure, meaning the concrete surface itself was weak).
Soft or tacky spots. Areas that never fully hardened. Still impressionable weeks after installation. This is a curing failure, not an adhesion failure — different cause, different fix.
Each of these points somewhere specific. Here’s where each leads.
Cause 1: Moisture Vapor — The Most Common Culprit
<cite index=”5-1″>Moisture is consistently one of the top drivers of epoxy resin floor coating peeling, and it’s almost entirely preventable with the right testing upfront.</cite>
Here’s what’s actually happening. <cite index=”5-1″>Concrete holds moisture internally, and when vapor pressure builds up beneath a sealed coating, it pushes upward. The epoxy can’t go anywhere, so it blisters, then bubbles, then peels.</cite>
The reason this catches people off guard: a slab can feel completely dry to the touch while actively transmitting moisture vapor from below. The moisture is coming from the ground under the slab, not from the surface — and it never stops. Apply an impermeable coating over that ongoing vapor transmission without a vapor barrier, and you’ve created a sealed system where pressure has only one direction to go.
What it looks like: <cite index=”5-1″>Blistering or bubbling, especially in patches. Peeling concentrated in ground-floor or basement areas.</cite> The failure often starts at the edges or near cracks and spreads inward.
The fix: <cite index=”5-1″>Always conduct moisture testing before any epoxy application. Use vapor-resistant primers or moisture barriers where needed. In cases of high vapor emission, switch to a moisture-tolerant system entirely.</cite>
For floors that have already failed from moisture: the coating has to come off. Patching over a moisture-driven failure without addressing the slab’s vapor emission is a waste of material — the same pressure will find the new coating and do the same thing. Remove the coating, test the slab, install a proper moisture vapor barrier primer, and rebuild from there.
Cause 2: Inadequate Surface Preparation
<cite index=”3-1″>Up to 80% of epoxy resin floor coating failures are linked to inadequate prep.</cite> That’s not a number that gets better by choosing a higher-quality coating.
The issue is mechanical. Epoxy bonds to concrete through a combination of chemical adhesion and mechanical interlocking — it needs to penetrate into a porous, profiled surface to form a lasting grip. Smooth, sealed, dusty, or contaminated concrete doesn’t provide that. The coating sits on top rather than bonding into the substrate, and it eventually releases.
Common prep failures:
Acid etching without grinding. Acid etching opens the concrete chemically, but it can’t remove sealers, create consistent porosity across the whole slab, or address high spots and surface variation. On slabs with any residual sealer or contamination, it’s unreliable.
Concrete laitance. The thin, weak layer of cement paste that forms on the surface of concrete. It looks like solid concrete but has almost no strength. If the coating bonds to laitance rather than to the concrete beneath, the failure mode is the coating peeling with a thin layer of concrete dust attached to the back.
Oil and grease contamination. Especially in garages — automotive fluids penetrate concrete and break the adhesive bond from the inside. Standard cleaning doesn’t reach deep contamination. Degreasers do, but only if the contamination is fully removed before grinding, not after.
What it looks like: Large sheet delamination where the coating lifts off in intact sections. Clean concrete underneath (if the concrete surface was sound) or dusty residue on the back of the lifted sheet (if laitance was the issue).
The fix: Diamond grinding is the corrective and preventive answer. It removes laitance, opens the concrete to a CSP 2–3 mechanical profile, and eliminates surface contamination in the process. There’s no shortcut that achieves the same result. Floors that failed from prep failures need to be ground back to bare concrete before any recoating.
Cause 3: Mixing Errors
<cite index=”5-1″>Epoxy is a two-component system that consists of a resin and a hardener. They need to be combined in exact proportions for the chemical reaction to complete properly. This isn’t a situation where close enough works.</cite>
Off-ratio mixing is more common in DIY installations than professional ones, but it happens both ways. <cite index=”2-1″>If the individual applying your epoxy resin floor coating mixed the resin and hardener too quickly, it would’ve created air bubbles in the mix. Even during applications, these bubbles will remain in a viscous epoxy.</cite>
The specific failure modes from mixing errors:
Under-catalyzed mix (too little hardener): The chemical reaction never completes. The result is soft spots or tacky areas that don’t harden, low chemical resistance across the whole floor, and premature peeling as the weakly cured coating can’t hold up to traffic.
Over-catalyzed mix (too much hardener): Accelerated cure that generates excess heat. Can cause bubbling, crazing, and uneven surface texture.
Inadequate mixing: Streaks of uncured resin or hardener create weak zones that fail selectively — certain spots bubble or peel while surrounding areas hold.
What it looks like: Soft or tacky spots that don’t harden over time. Uneven gloss. Bubbles that appeared during application. Peeling that’s inconsistent — some sections fail while neighboring sections hold.
The fix: Soft spots require full removal — you can’t sand or topcoat over uncured epoxy. The affected areas need to be ground back to a sound layer or to bare concrete, then recoated with properly mixed product. Prevention is simple: follow the manufacturer’s mix ratio exactly, use appropriately sized containers so the proportions are accurate, and mix at a consistent speed for the specified time.
Cause 4: Temperature and Environmental Conditions
<cite index=”6-1″>Apply epoxy in optimal conditions (50–90°F, low humidity). Premature use leads to peeling.</cite>
Temperature affects epoxy cure in both directions. Too cold: the chemical reaction slows significantly below 55°F (13°C) and can stall entirely below 50°F. The coating may feel solid on the surface while remaining uncured underneath — then traffic, moisture, or thermal cycling causes it to fail. Too hot: direct sunlight heating the slab above 85–90°F accelerates the surface cure while the deeper layers lag, trapping solvents and causing bubbles.
<cite index=”2-1″>If conditions are too cold or direct sunlight hits your curing resin, you could see bubbles.</cite>
High humidity introduces moisture into the curing system from above, which compounds any moisture issues coming from the slab below. The practical window for most epoxy systems: slab temperature between 55–85°F, relative humidity below 85%, no direct sun on the floor during application and initial cure.
What it looks like: Bubbles or pinholes that appeared during application. Peeling concentrated in areas that received sun or temperature extremes during the cure window. Soft spots in areas where the temperature dropped overnight.
The fix: For minor surface bubbles from temperature: sand the affected area smooth once fully cured and apply a fresh topcoat. For widespread bubbling or soft spots from cold-temperature cure failure: remove the affected layer and recoat under controlled conditions. Prevention: check the slab temperature with an infrared thermometer before starting, and don’t apply during temperature swings.
Cause 5: Premature Traffic and Use
<cite index=”6-1″>Premature use leads to peeling. Wait at least 72 hours before heavy use.</cite> The actual threshold depends on the system — standard 100% solids epoxy is typically 72 hours for vehicle traffic, while polyaspartic systems can be driven on within 24 hours — but the principle is universal.
Walking on a floor before it’s walk-ready leaves impressions. Parking on it before full cure causes tire pickup and surface distortion. These aren’t just cosmetic — impressions and distortions in partially cured epoxy create stress concentrations that become peeling initiation points as the coating finishes hardening around them.
The fix: If impressions or tire marks got into the floor during the cure window, address them as soon as full cure is confirmed. Light impressions can sometimes be abraded and topcoated. Deep distortions typically require grinding back and recoating.
How to Diagnose What Happened to Your Floor
Before deciding on a repair approach, identify the failure type:
| What You See | Likely Cause |
|---|---|
| Bubbles or blisters, especially near grade level or drains | Moisture vapor from below |
| Large sheets peeling with clean concrete underneath | Poor surface prep / no mechanical profile |
| Coating peeling with concrete dust attached to back | Concrete laitance — weak surface layer |
| Soft or tacky spots that never hardened | Mixing error or cold-temperature cure failure |
| Bubbles that appeared during or right after application | Mixing too fast, temperature extremes, or humidity |
| Peeling only where tires sat | Hot tire pickup or premature vehicle traffic |
| Peeling in isolated spots, not widespread | Localized contamination during prep |
The Repair Decision: Patch or Recoat?
The answer is determined by two things: how widespread the failure is, and what caused it.
Localized failure (less than 20% of the floor, clearly bounded): <cite index=”6-1″>Use a floor grinder or scraper to eliminate damaged sections. Clean debris with a vacuum and degreaser. 80–120 grit sandpaper roughs up the surface for better adhesion.</cite> Spot prime, let it cure, then apply a fresh coating layer. The repair won’t be seamless with the original surface, but it stops the failure from spreading.
Widespread failure or moisture-driven failure: <cite index=”8-1″>If peeling is widespread it is best to do a full removal and rebuild the surface. Mechanical removal all the coating all the way to your concrete slabs.</cite> This is the only approach that actually addresses the root cause rather than covering it. Grinding back to bare concrete, testing and treating the slab, then rebuilding with a properly specified system.
Moisture-driven failure specifically: No patch approach works here. The vapor pressure that failed the first coating will fail the patch. The slab needs a moisture vapor barrier primer installed after grinding, before any new coating.
Preventing the Next Failure
Three decisions before installation determine whether a floor coating lasts or fails within two years:
Test for moisture. A calcium chloride test or in-situ RH probe takes a few hours and costs almost nothing relative to a full floor installation. If readings are elevated, a vapor barrier primer is required — not optional.
Diamond grind, not acid etch. Diamond grinding is the only prep method that reliably creates the mechanical profile epoxy needs, removes laitance, and addresses contamination in a single operation. Acid etching is insufficient for most residential and commercial floor coating applications.
Use a primer coat. A dedicated primer applied to ground concrete before the base coat costs less than the base coat itself and significantly improves long-term adhesion. Most premature failures on properly ground floors trace back to skipping this step.
The Short Version
Epoxy resin floor coating failures — bubbling, peeling, soft spots — almost always trace back to one of five things: moisture vapor from the slab, inadequate surface prep, mixing errors, wrong temperature conditions during installation, or premature use. The coating chemistry is rarely the problem.
Fixing it means diagnosing which of these caused your specific failure before deciding on a repair path. Patching without diagnosis is how floors end up needing a third repair.