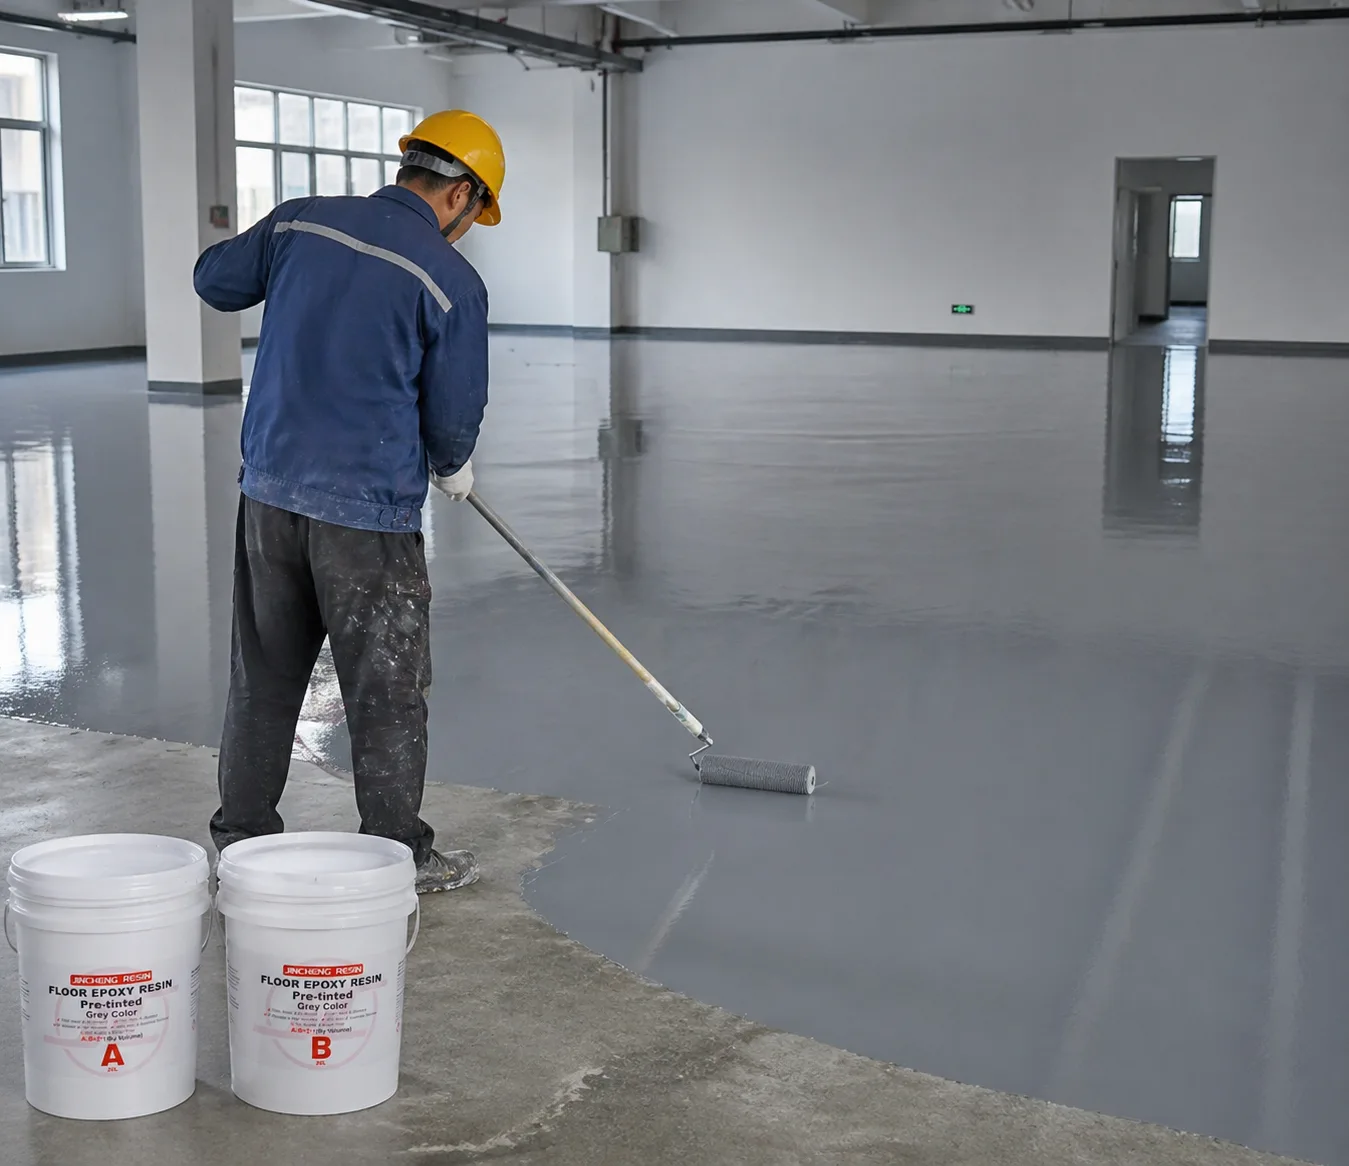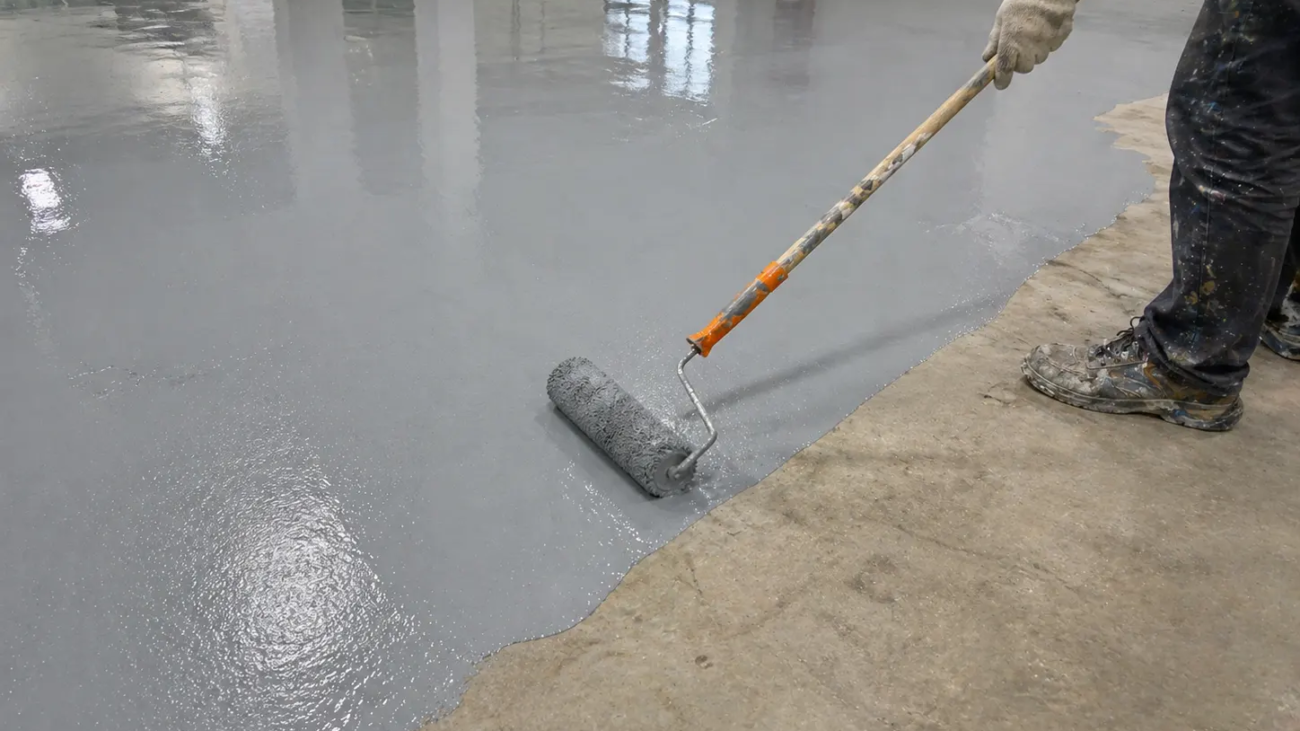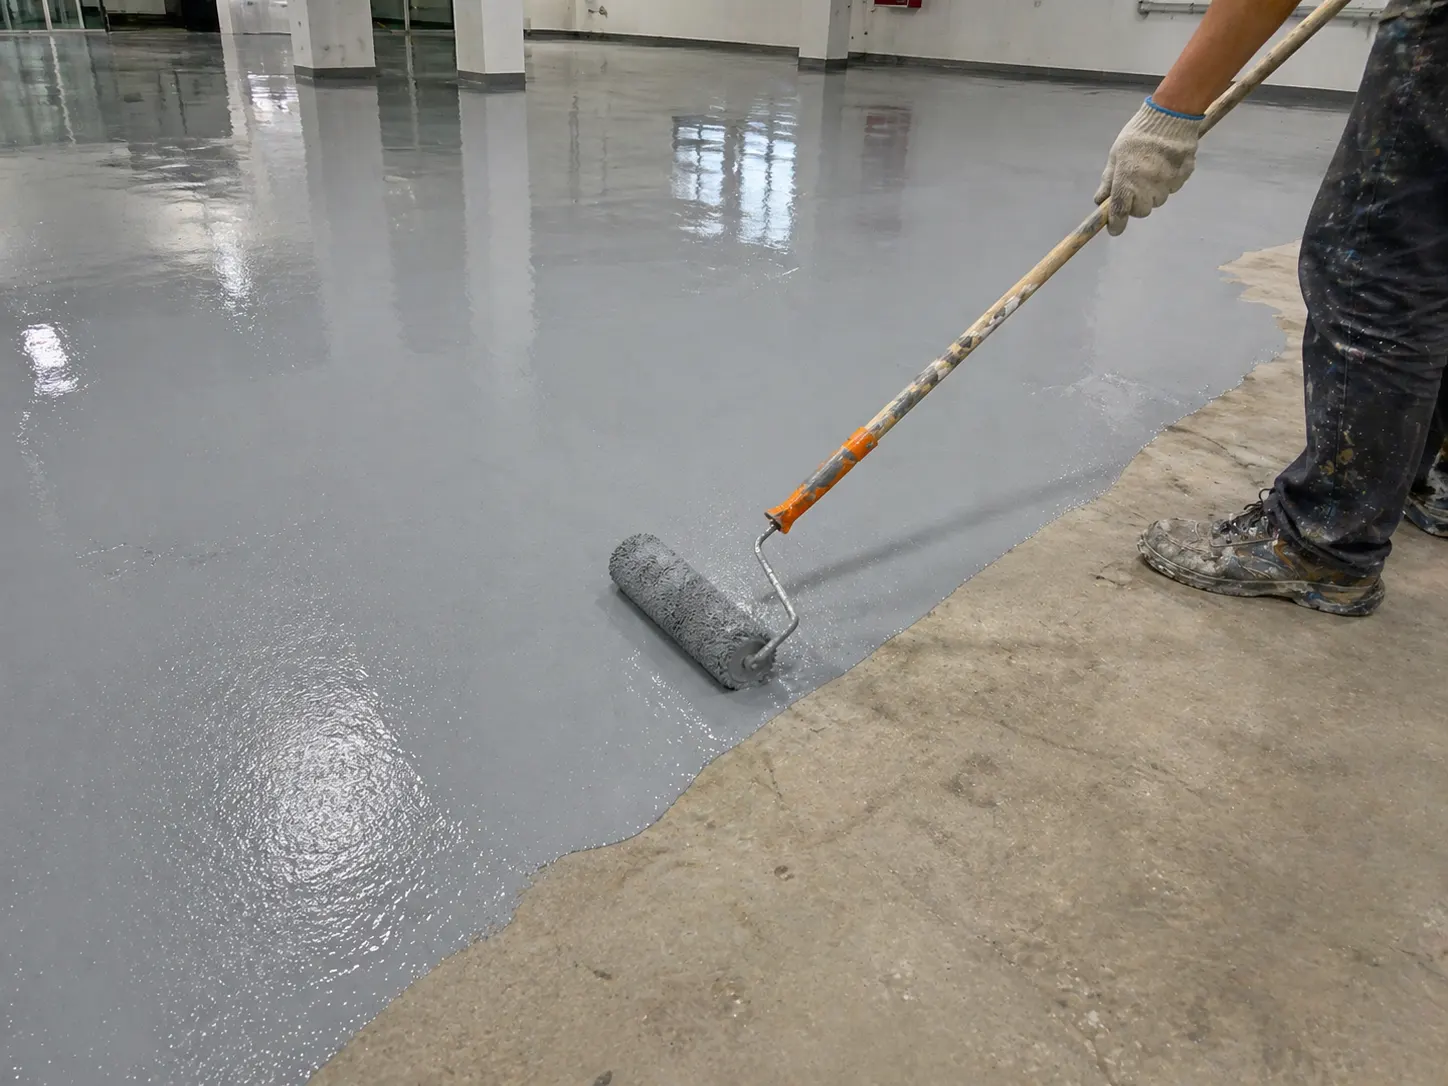



Epoxy Floor Paint Colours1

Beginner’s Epoxy Floor Paint Colours Guide

While planning a floor renovation for a garage, warehouse, commercial area, or even a house, durability and how a coating is applied tend to dominate. However, epoxy floor paint colors are just as important. A challenge facing beginners, however, lies in choosing colors that will remain effective over time. In order to help beginners understand the basics of epoxy floor paint colors, this Beginner’s Epoxy Floor Paint Colours Guide will help individuals understand the basics before beginning their epoxy floor coating project.

Epoxy Floor Paint Colours

What Are Epoxy Floor Paint Colours?

Epoxy floor paint colours refer to the varieties of colours and visual appeal you get once you apply an epoxy coating and allow it to set. Unlike other floor coatings that use paint, epoxy coatings retain color over time since they are embedded in a strong resin that is resistant to wear, chemical, and UV exposure. Epoxy floor paint has a glossy finish, matte finish, metallic finish, etc. Because of these properties, epoxy floor paint colors are best suited for garages, warehouses, etc.

Most Popular Epoxy Floor Paint Colours for Beginners

For beginners, it is best to choose epoxy floor paint colours that have been proven and used by many people. These epoxy floor paint colors are easier to use, more forgiving, and will work with almost any interior decorating theme.

1. Grey Epoxy Floor Paint Colours

Grey epoxy floor paint colors are probably among the best epoxy floor paint colors available today. Grey is a color that falls somewhere in between.

Advantages:

  • Grey is very functional as it conceals dust, tire marks, and wear very well.
  • Grey is ideal for use in garages, basements, work areas, and busy industrial settings.
  • Grey is very versatile and will look great with modern, industrial, and minimalist designs, and will remain timeless.

2. White and Light Neutral Colours

White and light neutral epoxy floor paint colours are usually chosen where cleanliness and brightness are of utmost importance. They have good light reflectivity and give a clean and professional look.

Suitable for:

  • Retail and commercial settings where products should stand out.
  • Areas that are used for medical purposes, laboratories, and food production, as hygiene is top priority in these areas.
  • Small spaces that do not receive much or any form of natural light, as these colors can give off the impression that the space is larger than it really is.

It should be noted that lighter epoxy floor paint colours are more likely to display dust and scuff marks.

3. Beige and Earth-Tone Colours

Beige and earth-tone epoxy floor paint colours give off a more natural and cozy look rather than a cold and industrial look. This is because they are perceived as soft and inviting. This epoxy floor paint color is suitable for home garages and basements as well as commercial spaces that do not have an industrial look and feel that people would want.

Epoxy Floor Paint Colours1

How to Choose the Right Epoxy Floor Paint Colours

A beginner should consider choosing epoxy floor paint colours that have been tried and tested for their popularity and longevity. Such epoxy floor paint colors are easier to work with and do not clash with your interior design aspirations.

1. Space Function

The intended use of the space should guide colour selection.

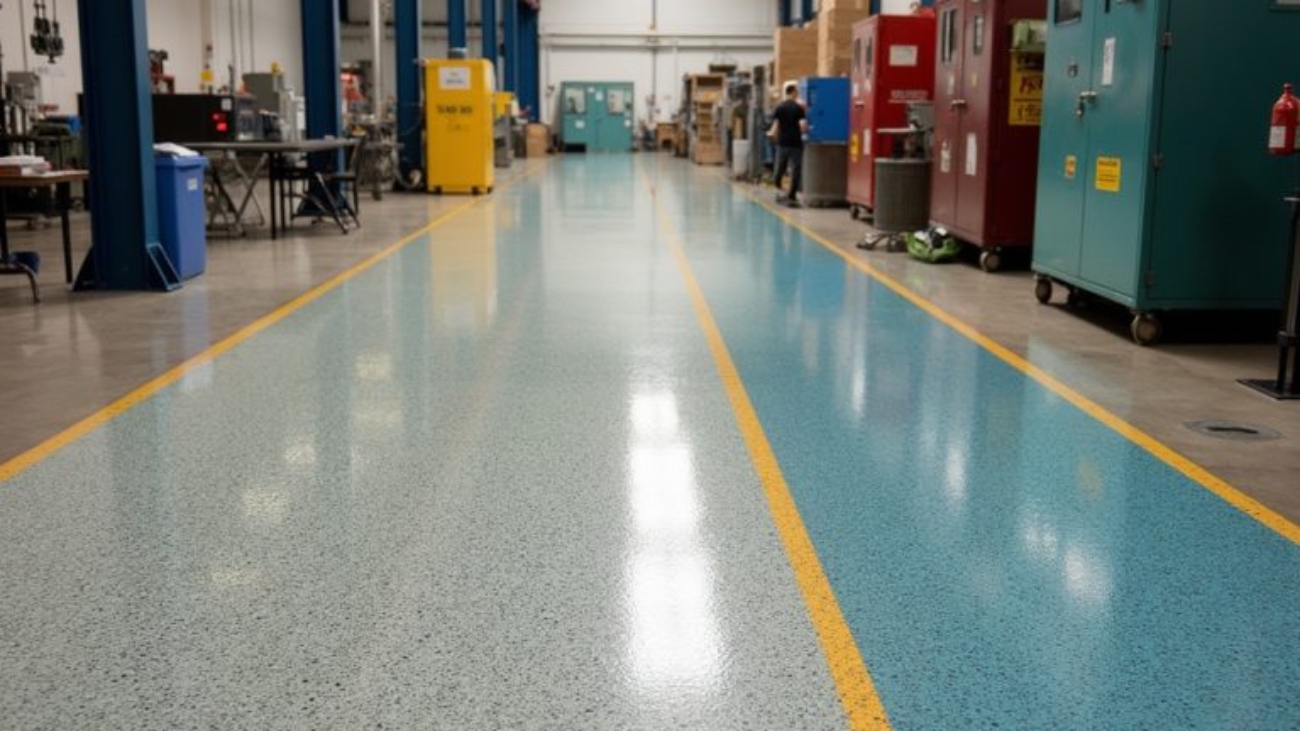
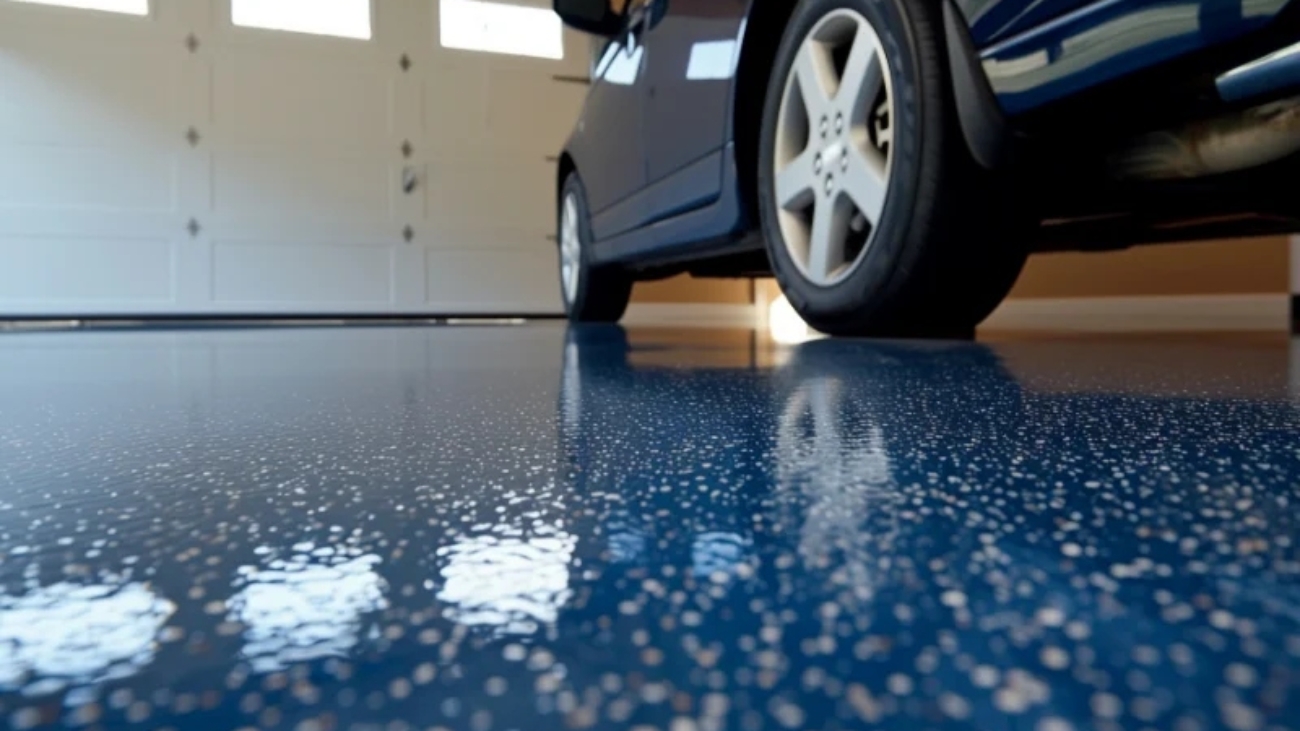
  • Garage / Warehouse: Dark grey, charcoal, or flake-enhanced epoxy floor paint colours are recommended for durability and stain resistance.
  • Home Interior: Light grey, beige, and neutral tones blend easily with walls and furnishings.
  • Commercial Area: Custom colours may be used to align with branding while maintaining performance.

2. Lighting Conditions

Lighting has a significant impact on how epoxy floor paint colours appear in real conditions. In spaces with limited natural or artificial light, darker colours may absorb light and make the area feel smaller or heavier. Beginners should always consider on-site lighting rather than relying solely on colour samples or online images.

3. Maintenance Requirements

Epoxy floor paint colours have different maintenance requirements.

  • Dark colors tend to hide stains better, but tend to show dust and water spots depending on the lighting conditions.
  • Light colours create a cleaner look overall but require more frequent cleaning to maintain their appearance.

Choosing a colour that aligns with realistic maintenance expectations is essential for long-term satisfaction.

Common Mistakes Beginners Should Avoid

Many beginners make avoidable mistakes when selecting epoxy floor paint colours, often due to limited experience.

  • Ignoring real conditions: Choosing colours based only on colour charts or online photos without considering actual lighting and space proportions can result in unexpected outcomes.
  • Overlooking space usage: Failing to match colour choice with traffic levels and functional demands may lead to premature wear or dissatisfaction.
  • Chasing trends: Selecting trendy colours without considering long-term aesthetics can cause visual fatigue over time.
  • Underestimating maintenance: Not accounting for the upkeep required by light or decorative epoxy floor paint colours can increase long-term maintenance costs.

Conclusion

To those who are new to epoxy flooring, the selection of the right epoxy floor paint colors is not necessarily about making a bold impression, but about achieving a good balance between functionality and appearance. The best results seem to be achieved by starting from the known options and working through the function of the space, the lighting, and the maintenance issues. As a professional supplier of epoxy flooring materials, JINCHENG is dedicated to providing top-notch, color-consistent epoxy materials for different uses. If you need expert advice on choosing the best epoxy floor paint colors and the best product for your specific needs, please don’t hesitate to contact us.

Epoxy Metallic Floor Coating

What is Metallic Floor Coating?

High-end commercial and industrial spaces today demand floors that are both functional and visually striking. Metallic floor coating serves this purpose by using metallic colors along with transparent epoxy resin to produce beautiful and charming textures. Piecemeal from this, metallic bottom coating is largely durable, resistant to wear, and chemically stable, making it an excellent option for showrooms, luxurious services, and artificial parcels where aesthetics are of great concern.

Epoxy Metallic Floor Coating2

Understanding Epoxy Epoxy Metallic Floor Coating

Epoxy Metallic Floor Coating is an epoxy-based flooring system that blends metallic pigments with transparent resin to create layered, flowing metallic effects. It provides excellent durability, wear resistance, and chemical stability while delivering decorative finishes like mirror-like or marble-like textures.

Types of Epoxy Epoxy Metallic Floor Coating

Epoxy Metallic Floor Coating can be astronomically classified into different types based on factors such as the resin used, the operation process, and the appearance. Grounded on these factors, the metallic bottom coating can be classified as.

(1) Water- Grounded Metallic Epoxy resin Flooring

Water- Grounded Metallic Epoxy resin flooring offers excellent environmental friendliness, low volatile organic compound (VOC) content, and minimal odor, making it an ideal choice for sites dealing with indoor environmental issues. However, these metal primers are somewhat inferior in appearance, with lower gloss levels and metallic luster.

(2) Solvent- Grounded Metallic Epoxy resin Flooring

Solvent-borne metallic epoxy resin flooring boasts excellent leveling and adhesion properties, making it an ideal choice for creating visually appealing coatings. However, this type of metallic primer is subject to more stringent construction conditions and has a relatively high content of volatile organic compounds (VOCs).

(3) Solvent-Free High- End Metallic Epoxy Resin Flooring

The detergent-free system represents the mainstream of high- performance metallic bottom coating. It features 100 solids, ultra-high buff, and superior mechanical parcels, achieving a true glass- suchlike metallic effect while promoting environmental benevolence and continuity.

How to Apply Epoxy Metallic Floor Coating

The standardized process of applying Epoxy Metallic Floor Coating is essential in order to guarantee both functionality and visual appeal. The main process includes:

1. Substrate Preparation

The concrete substrate has to be ground, dusted, and repaired properly to provide a smooth, strong, and oil-free surface. This step has a direct effect on adhesion and lifespan.

2. Primer Application

Apply an epoxy primer to enhance substrate sealing and overall bonding strength, providing a stable base for the metallic layer.

3. Intermediate & Metallic Effect Layer

The metallic pigment has to be mixed with epoxy resin following a proper ratio. Then apply it with trowels, squeegees, or other specialized tools that will guide the flow of pigment particles to create a unique metallic effect. This step is essential in creating visual appeal.

4. Topcoat Protection Layer

The application of a transparent topcoat will enhance scratch resistance, chemical resistance, and lifespan of Epoxy Metallic Floor Coating with additional visual appeal.

Applications of Epoxy Metallic Floor Coating

Due to the various advantages offered by Epoxy Metallic Floor Coating, it has become quite popular. The applications of Epoxy Metallic Floor Coating, along with their advantages, are as follows:

(1) High-End Commercial Spaces

    In high-end commercial spaces such as shopping malls, brand stores, and hotel lobbies, Epoxy Metallic Floor Coating offers mirror-like finishes as well as metallic-look floorings. These floorings offer great durability along with resistance to wear and tear and compression.

    (2) Showrooms and Exhibition Spaces

      Showrooms for cars and other products often require high aesthetic appeal. Epoxy Metallic Floor Coating offers great advantages for showrooms as it adds more glamour to the products being showcased. The glossy finish and natural look of metallic floorings offer great advantages when combined with lighting.

      (3) Industrial Facilities and Warehouses

        In industrial areas where high compressive strength, scratch resistance, and resistance to oil and chemical exposure are necessary, Epoxy Metallic Floor Coating excels. This floor coating is capable of supporting heavy loads, scratches, and exposure to oil and chemical substances.

        Find Your Epoxy Metallic Floor Coating Solution

        Among the colorful metallic bottom coating systems, JINCHENG’s decoration metallic epoxy resin bottom coating system is particularly prominent for its defined performance criteria and long- term continuity.

        JINCHENG Epoxy Metallic Floor Coating is made of highly transparent solvent-free epoxy resin AB adhesive and features a 100% solid content system. It is non-toxic, eco-friendly, and low in VOCs, making it an ideal choice for scenarios with stringent environmental and safety standards. Meanwhile, we have developed three different topcoats—epoxy resin, waterborne polyurethane resin, and polyaspartic resin acid—based on diverse application scenarios, fully meeting customers’ needs for various environments.

        In addition, this Epoxy Metallic Floor Coating system has a fast curing rate, which reduces project duration and labor costs. It is also easy to maintain, making it perfect for projects that require frequent use.

        Epoxy Metallic Floor Coating

        Conclusion

        Overall, Epoxy Metallic Floor Coating has become a favored choice for high- end systems due to its combination of high ornamental value and performance. By opting for the right accoutrements and following standardized construction procedures, metallic epoxy resin flooring not only enhances space aesthetics but also meets demands for wear and tear resistance, compressive strength, and chemical resistance.

        For druggies seeking long- term stability and decorative visual goods, an easily specified and balanced system like JINCHENG’s Epoxy Metallic Floor Coating is really a result worth considering.

        Polyurea Floor Coating

        how long does polyurea floor coating last?

        Polyurea floor coating is a high-performance protective floor system made from polyurea resin. Its core components consist of an isocyanate component (Component A) and an amino compound component (Component R). It is specifically designed to create a seamless, durable, and fast-curing coating on the surface of concrete and other substrates.

        Polyurea Floor Coating

        Service Life of Polyurea Floor Coating

        The service life of polyurea floor coating is not a fixed value; it is affected by various factors such as the application scenario and construction quality. However, overall, it has excellent durability and can last for 10-30 years under normal usage conditions. This service life far exceeds that of traditional floor coating materials like epoxy resin (usually only 3-10 years). The specific service life is mainly influenced by the following four core factors:

        1. Application Scenario

        Different usage environments have a significant impact on the service life of polyurea floor coating. In relatively mild environments such as commercial halls, residential garages, and office areas with low foot traffic and no heavy-load pressure, its service life can easily reach 20-30 years. On the contrary, in harsh environments subjected to heavy loads, frequent mechanical impacts, or long-term exposure to special media, the service life will be shortened accordingly. For example, in industrial workshops where forklifts frequently roll over, the service life is usually 15-25 years; in environments with long-term water immersion such as water parks and swimming pools, affected by the water medium, the service life is approximately 10-20 years. In addition, outdoor floors exposed to ultraviolet rays for a long time may experience slight yellowing, but this generally does not affect the structural integrity of the coating, and the service life can still reach 15-20 years. If aliphatic polyurea with better weather resistance is used, the outdoor service life can be further extended.

        2. Construction Quality

        Construction quality is a key factor determining whether polyurea floor coating can achieve its intended service life. The standard construction process includes thorough treatment of the base surface (cleaning, leveling, and grinding), accurate proportioning of polyurea materials, and uniform spraying using professional high-temperature and high-pressure equipment. If defects such as missing coating, uneven thickness, or inadequate base surface treatment occur during construction, the coating is prone to problems such as blistering, cracking, and peeling in later use, and the service life will be significantly shortened to less than 10 years. On the contrary, high-quality construction that strictly adheres to specifications can ensure a tight bond between the coating and the base surface, allowing the service life to reach the upper limit of the material’s performance.

        3. Material Quality

        The quality of polyurea raw materials directly affects the durability of the coating. High-quality polyurea materials have a stable molecular structure, excellent physical properties (such as high tensile strength, good flexibility, and strong wear resistance), and can maintain stable performance in extreme temperature environments (-40℃ to 150℃). In contrast, inferior polyurea materials with impure components and incorrect proportions have poor wear resistance and corrosion resistance, and their service life may only be 5-10 years. Jingsheng Polyurea Floor Coating uses the highest-quality polyurea raw materials and the most advanced formulas. Compared with ordinary polyurea coatings, it has better adhesion and weather resistance, and its service life can usually be extended by 5-10 years under the same conditions.

        4. Daily Maintenance

        Scientific daily maintenance can effectively extend the service life of polyurea floor coating. The maintenance advantage of polyurea coating lies in its simplicity of operation—usually, only regular cleaning (such as wiping with a damp cloth or high-pressure water washing) is required to avoid the accumulation of oil stains, chemicals, and sharp debris. If the floor is accidentally scratched or partially damaged, timely repair (such as spraying additional polyurea material) can prevent the damage from expanding. On the contrary, long-term neglect of maintenance, such as allowing sharp objects to scratch the coating and allowing strong acids and alkalis (pH ≤ 1) to remain on the surface for a long time, will accelerate the aging and degradation of the coating and shorten its service life.

        Summary

        In conclusion, the service life of polyurea floor coating ranges from 10 to 30 years. To ensure its long-term use, three factors need to be comprehensively considered: selecting high-quality materials, entrusting professional teams to carry out standardized construction, and conducting daily maintenance in accordance with the application scenario. Compared with traditional floor materials, polyurea floor coating has a significant advantage in durability, and its ultra-long service life is sufficient to offset the relatively high initial investment cost, demonstrating excellent long-term economic benefits.

        How to properly apply epoxy floor coating

        How to properly apply epoxy floor coating?

        Epoxy floor coating boast excellent wear resistance, pressure resistance, and chemical corrosion resistance. They are easy to clean and maintain, highly decorative, and feature strong adhesion, with a low overall cost. Additionally, they can be extended to have special functions such as anti-static and anti-slip properties. As a result, they are widely favored in the floor coating industry and are mostly applied in scenarios like industrial workshops, commercial spaces, and underground parking garages.

        The construction quality directly determines the performance and service life of epoxy floor coatings. Therefore, proper construction is extremely crucial.  Jincheng Resin will share some correct construction steps with you, hoping to provide some help for your projects.

        How to properly apply epoxy floor coating

        1.Before-construction Preparation: Lay a Solid Foundation for the Base Surface

        (1)Base Surface Inspection and Evaluation

        The condition of the base surface is the core factor determining the adhesion of epoxy floor coatings. Of course, different application scenarios have different requirements. Jincheng Resin can only provide some references, and professional evaluation and testing are required on your side.

        Strength Requirements

        The strength of the base surface is of great importance. Insufficient base strength can lead to cracking, peeling and other defects of the epoxy floor coating. The base layer can be likened to the bones of a human body: if the bones are fragile, the body cannot withstand heavy pressure. The base layer of epoxy floor paint must have sufficient compressive strength. For example, in industrial scenarios where heavy vehicles or equipment frequently move and park, the base layer requires a higher compressive strength (the compressive strength of the concrete base layer shall be ≥ C20; for heavy-duty areas such as workshops and garages, it shall be ≥ C25).

        Flatness Requirements

        The flatness of the base surface is similar to building blocks: if the bottom blocks are crooked, it will be difficult to build a stable structure with the upper blocks, and the same principle applies to the construction of epoxy floors. The following are the common reference requirements for the base surface: tested with a 2m straightedge, the gap shall be ≤ 3mm, and ≤ 2mm for heavy-duty areas; the slope of drainage areas shall be ≥ 1.5% to avoid water accumulation. Areas with excessive height differences shall be marked and repaired later.

        Dryness Requirements

        Excessive moisture in the base layer is like a damp box, which can cause mold growth on the epoxy floor coating. When the humidity is too high, the epoxy floor coating is prone to pinholes and delamination. The moisture content of the construction base surface for solvent-based epoxy floor paint shall be ≤ 6%, and this requirement can be relaxed to ≤ 8% for water-based epoxy. The moisture content can be tested with a moisture meter, or by covering the base surface with a plastic film for 24 hours—if no condensation droplets form, the base surface is deemed qualified.

        Cleanliness Requirements

        The base surface must be kept clean and tidy. Oil stains, dust, loose particles, laitance and other contaminants will hinder the bonding between the epoxy floor coating and the base surface, reducing adhesion. Oil stains can be wiped with acetone or a special cleaning agent first; laitance and loose particles can be removed by grinding with a floor grinder, followed by rinsing with clean water and drying; dust shall be completely cleaned up.

        (2)Materials and equipment

        Material Preparation and Inspection

        Epoxy floor coatings come in many different types, such as metallic epoxy flooring, rock chip flooring, and colored sand flooring. Prepare epoxy primer, intermediate coat, topcoat, hardener, and other corresponding materials according to different needs. Materials should be stored in a ventilated, dry, and cool place. The construction temperature should be controlled between 5-35℃ (temperature affects the curing time of the epoxy floor coating). Keep away from fire and oxidizers, and avoid direct sunlight. Before use, check the expiration date of the materials and confirm that there is no clumping, sedimentation, or separation. It is best to conduct a small-scale test application to verify performance before construction. The thinner must be used in conjunction with the epoxy coating; mixing with non-specified thinners is strictly prohibited.

         Equipment and Personnel Configuration

        Core construction equipment includes: grinder, angle grinder, mixer, airless sprayer, wool roller, trowel, scraper, 2m straightedge, moisture content meter, dry film thickness gauge, etc. Check the equipment’s performance in advance.

        Safety protection equipment must be fully equipped: gas masks, protective goggles, non-slip gloves, spiked shoes, paint-resistant work clothes, and fire-fighting equipment, placed in easily accessible locations. Construction personnel must undergo professional training, be familiar with the process and safety regulations, and hold valid certificates to work. The responsibilities of the technical supervisor, construction worker, and safety officer must be clearly defined.

        Environmental Condition Control During construction and curing, the ambient temperature must be controlled between 10-30℃: below 5℃, epoxy resin cures slowly, requiring the addition of a winter-grade curing agent; above 35℃, direct sunlight must be avoided to prevent rapid surface drying and blistering of the coating. Air humidity ≤75% (water-based epoxy ≤85%), anGrinding the Base Surface

        Grind the entire base surface with a floor grinder to remove surface laitance and loose layers, exposing the fresh concrete base. The surface should be roughened to a roughness of Ra 0.3–0.5 μm to enhance coating adhesion. For hard-to-reach areas such as edges and wall corners, use an angle grinder or manual sandpaper for grinding to ensure no spot is missed.

        (3)Repair of Uneven Base Surfaces

        Potholes/Depressions

        Fill them with epoxy mortar (epoxy resin + curing agent + quartz sand) and screed flat with a trowel. For repairs with a thickness of >5 mm, apply the mortar in layers, allowing each layer to dry for 24 hours before applying the next one.

        Cracks

        For fine cracks with a width of <0.5 mm: Fill them with elastic epoxy putty.

        For cracks with a width of ≥0.5 mm: Widen the cracks into V-shaped grooves, clear the dust, fill with epoxy mortar, and grind to a smooth finish.

        Hollow Areas

        Chisel out the hollow layer until reaching the solid base layer. After cleaning the dust, apply a primer, then repair the area with epoxy mortar to make it flush with the surrounding base surface.

        Cleaning and Dust Removal

        After grinding and repair, first remove floating dust by high-pressure air blowing, then perform a thorough cleaning with an industrial vacuum cleaner. Ensure no dust or particles remain on the base surface to prevent any adverse impact on coating adhesion.d the substrate temperature must be at least 3℃ above the dew point; in high-humidity environments, a dehumidifier must be used for regulation. Good ventilation must be maintained during solvent-based epoxy construction.

        epoxy floor coating

        2、Core construction procedures: Standardized operating procedures

        (1)Surface preparation: The most important step, directly determining the success or failure of the construction.

        Grinding the Base Surface

        Grind the entire base surface with a floor grinder to remove surface laitance and loose layers, exposing the fresh concrete base. The surface should be roughened to a roughness of Ra 0.3–0.5 μm to enhance coating adhesion. For hard-to-reach areas such as edges and wall corners, use an angle grinder or manual sandpaper for grinding to ensure no spot is missed.

        Potholes/Depressions

        Fill them with epoxy mortar (epoxy resin + curing agent + quartz sand) and screed flat with a trowel. For repairs with a thickness of >5 mm, apply the mortar in layers, allowing each layer to dry for 24 hours before applying the next one.

        Cracks

        For fine cracks with a width of <0.5 mm: Fill them with elastic epoxy putty.

        For cracks with a width of ≥0.5 mm: Widen the cracks into V-shaped grooves, clear the dust, fill with epoxy mortar, and grind to a smooth finish.

        Hollow Areas

        Chisel out the hollow layer until reaching the solid base layer. After cleaning the dust, apply a primer, then repair the area with epoxy mortar to make it flush with the surrounding base surface.

        Cleaning and Dust Removal

        After grinding and repair, first remove floating dust by high-pressure air blowing, then perform a thorough cleaning with an industrial vacuum cleaner. Ensure no dust or particles remain on the base surface to prevent any adverse impact on coating adhesion.

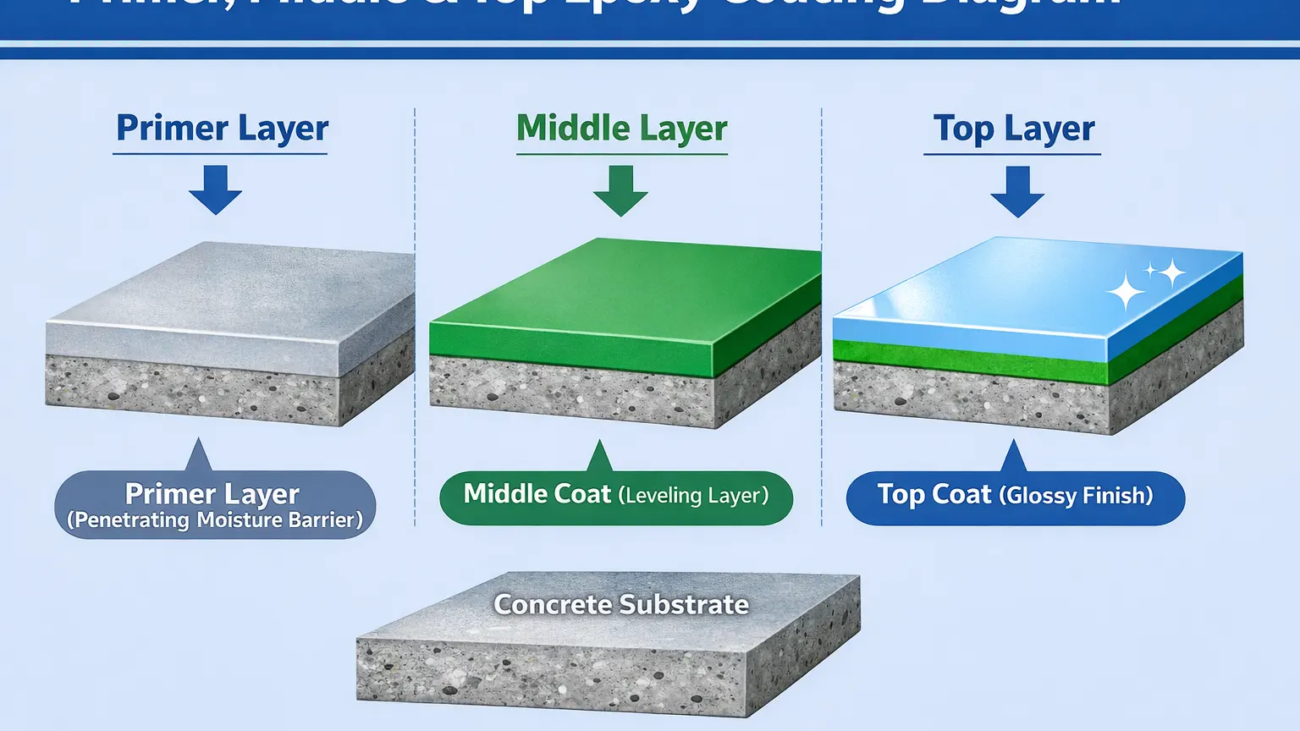
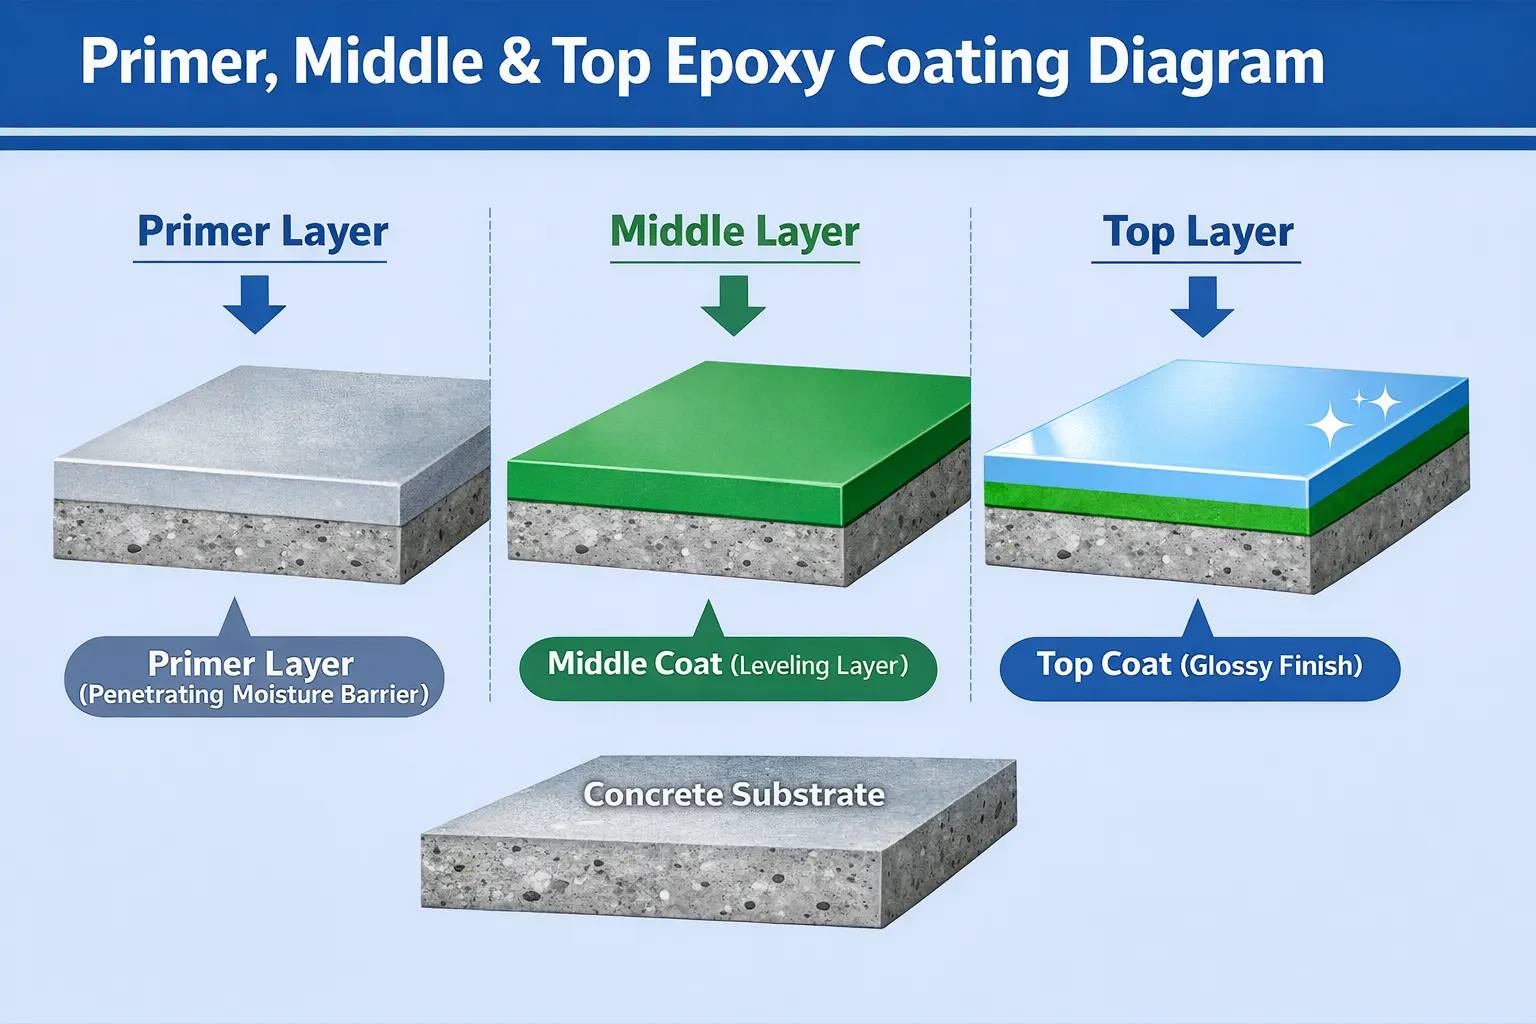
        (2)Primer Application: Seal the Base Surface and Enhance Adhesion

        Material Mixing Ratio

        Strictly mix the epoxy primer and curing agent in the proportion specified in the product manual, and weigh the components with an electronic scale (error ≤ 1%). This is to avoid coating softening caused by insufficient curing agent or increased brittleness caused by excessive curing agent. Stir the mixture at low speed with an electric mixer for 3–5 minutes to ensure it is uniform, free of particles and color differences.

        Application

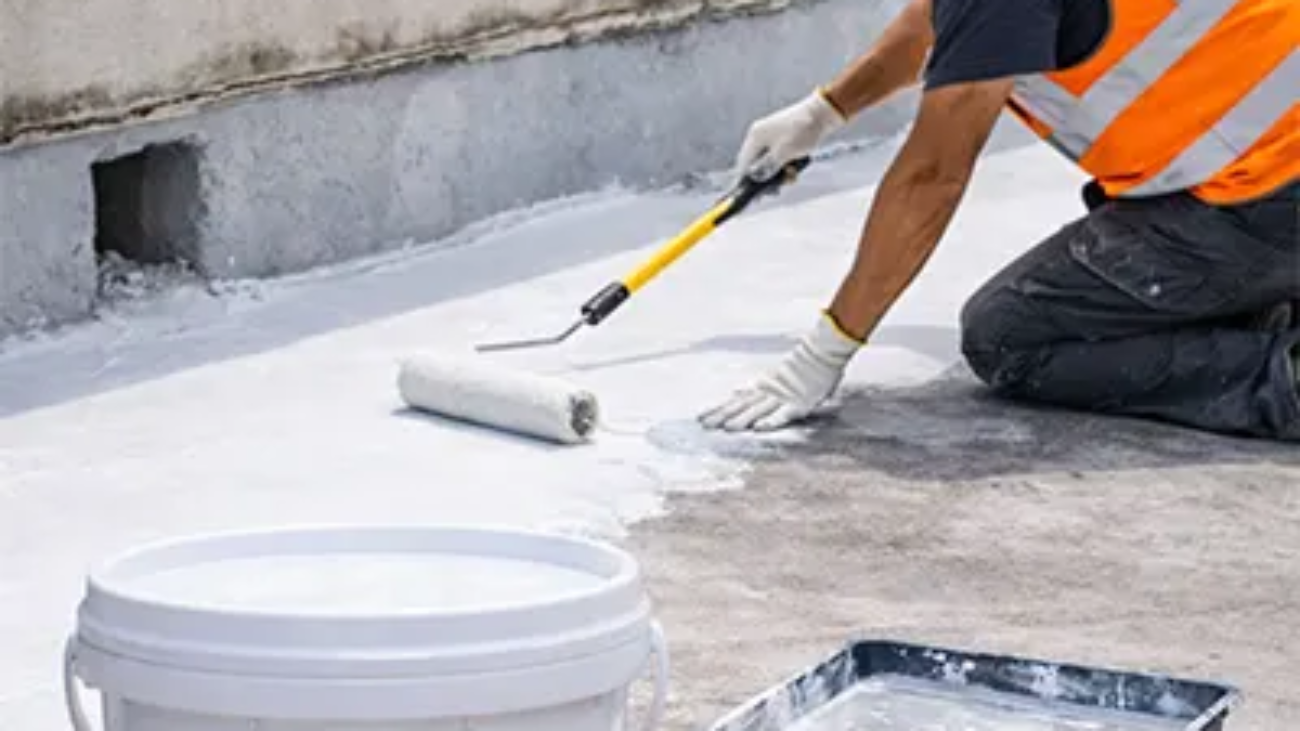
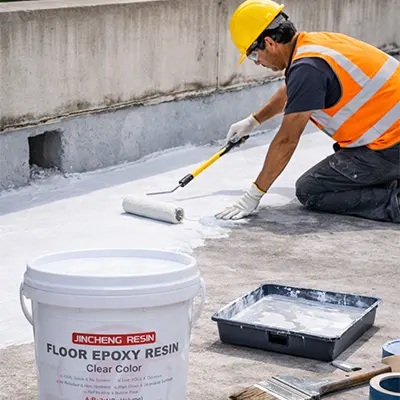
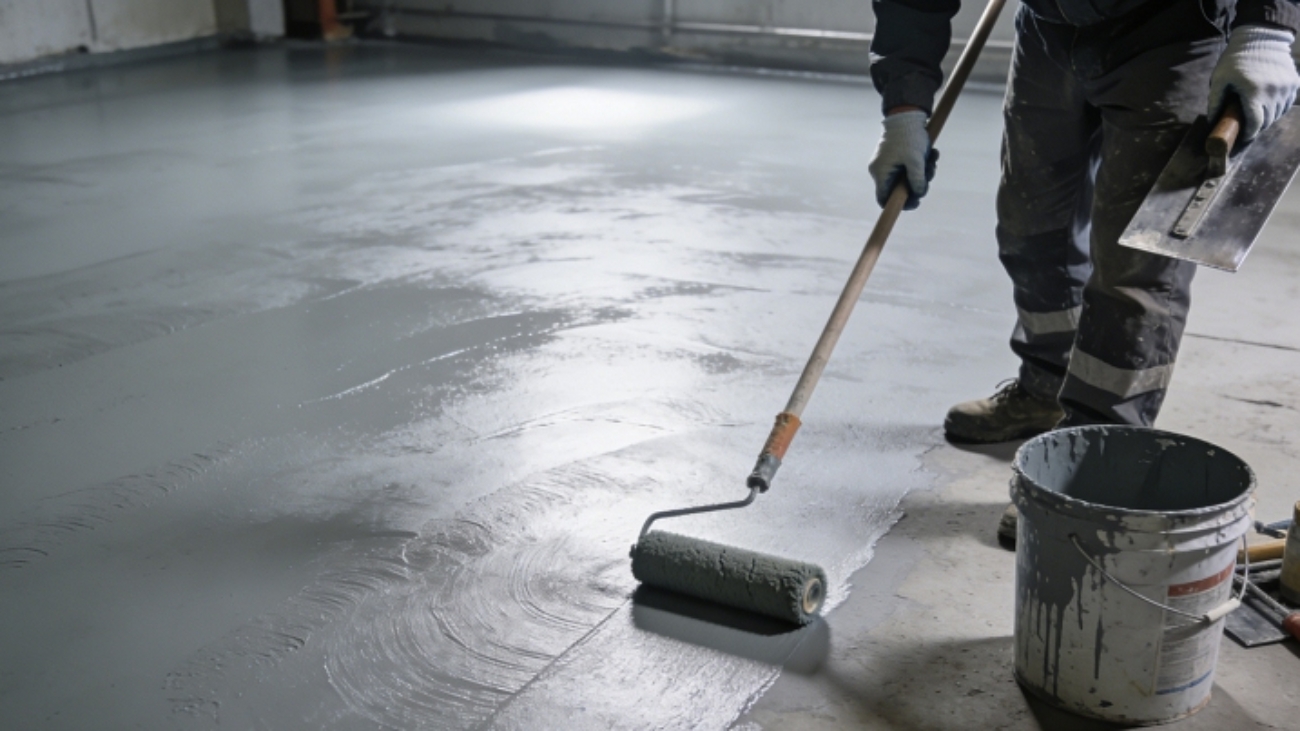
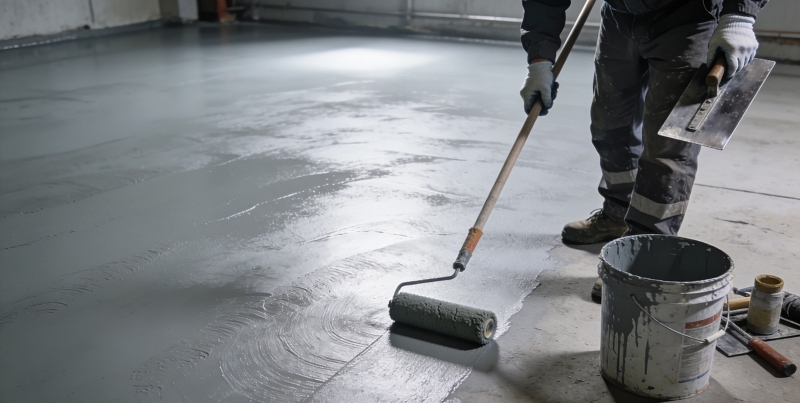
        Adopt the roller coating or airless spraying method, with the coating thickness controlled at 0.1–0.2 mm. The mixed primer must be applied within 30 minutes.

        Drying and Curing

        In an environment with a temperature of 20℃ and humidity ≤ 75%, the surface drying time is about 2–4 hours, and the hard drying time is 24 hours. When the temperature is below 10℃, the drying time shall be extended to 72 hours. The coating must be tested with a dry film thickness gauge; only when the coating hardness reaches pencil hardness H or above and there are no wrinkles or pinholes can the next construction process be carried out. Close the construction area during the drying period and set up warning signs to prevent personnel trampling and dust contamination.

        3Intermediate Coat Application: Fill Pores and Ensure Flatness and Wear Resistance

        Material Preparation

        Mix the epoxy intermediate coat and curing agent in the ratio specified in the product manual, and stir thoroughly. Test the viscosity with a viscosity cup: if it is too thin, sagging may occur; if it is too thick, application will be difficult. Use up the mixture within 30 minutes after blending.

        Application and Grinding

        The designed total thickness of the intermediate coat is 0.5–1.0 mm, which should be applied in two coats with an interval of 4–6 hours between coats.

        Apply the first coat evenly with a trowel or scraper to fill the pores of the primer.

        Smooth the second coat with a power trowel, and monitor the thickness in real time with a thickness gauge, ensuring the margin of error is ≤ ±0.1 mm.If the thickness is insufficient, apply an additional coat; if it is too thick, grind the surface to make it smooth.

        Curing and Acceptance

        The curing time is approximately 24 hours. Keep the environment well-ventilated to prevent the accumulation of solvent vapors.The surface can be prepared for topcoat application only when the Shore hardness (Type D) reaches ≥ 45 and the surface is smooth without particles.If blisters or cracks appear, check the moisture content of the base surface or potential material defects, and reprocess the surface before conducting further application.

        (4)Topcoat Application: Deliver the desired appearance and ensure the final performance

        Preliminary Preparation

        Prior to topcoat application, lightly abrade the surface of the intermediate coat with fine sandpaper to remove surface impurities and gloss, thereby enhancing interlayer adhesion. Subsequently, thoroughly clean away the dust with a vacuum cleaner.

        Material Mixing and Application

        Mix the topcoat and curing agent in the ratio specified in the product manual and stir thoroughly. Select either airless spraying or roller coating according to requirements:

        Airless SprayingSet the spray gun pressure to 20–25 MPa and use a nozzle with a diameter of 1.2–1.5 mm. Maintain a moving speed of 40–50 cm/min and control the coating thickness at 0.1–0.3 mm. Overlap each coating pass by 50% and execute the application from the inner area to the outer perimeter.

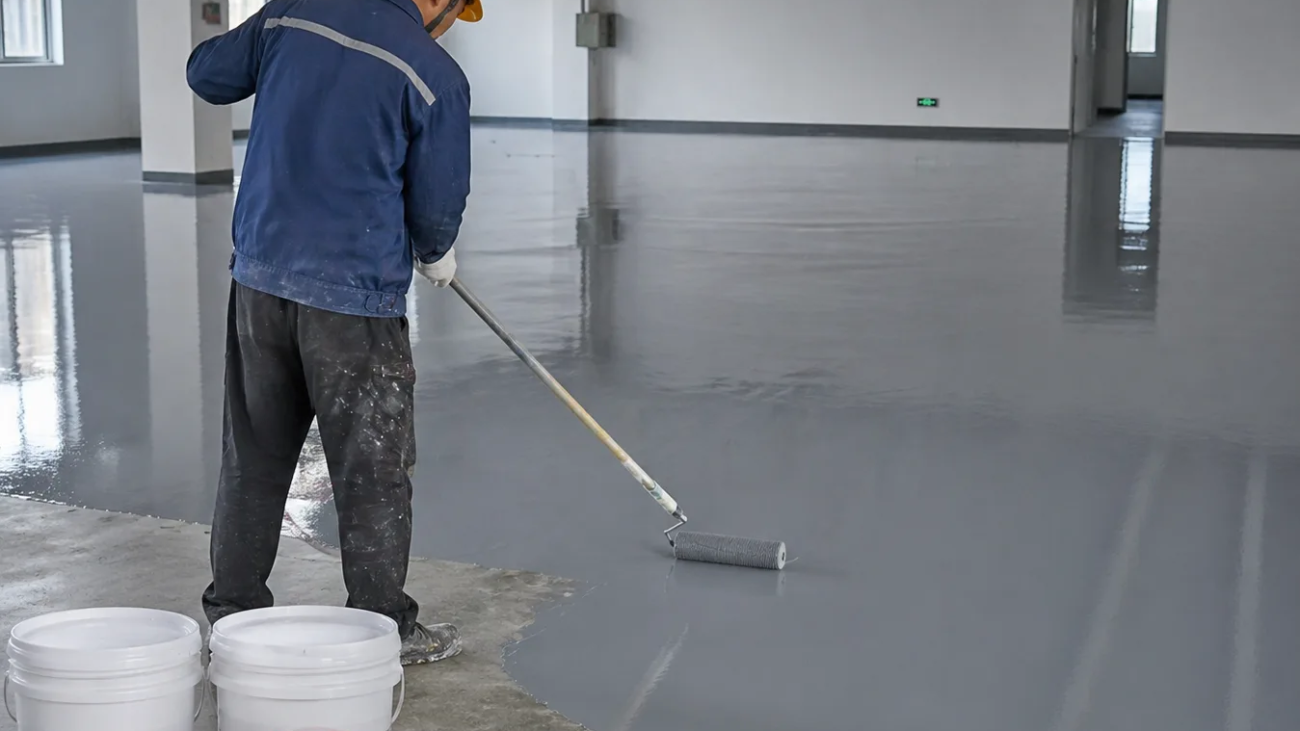
        Roller CoatingDip a short-pile roller into a small amount of topcoat, apply with light pressure and slow strokes to avoid air bubbles, and ensure uniform coverage of the base surface.

        Application Requirements

        The topcoat is typically applied in two coats with an interval of 2 hours between each coat. The total thickness of a standard epoxy topcoat shall be ≥ 0.5 mm (the topcoat thickness can be adjusted based on specific application scenarios).Conduct the application in an environment with a temperature of 15–30℃ and relative humidity ≤ 80%. Avoid construction on rainy days, under high-temperature exposure or in high-humidity conditions to prevent coating defects such as blushing, orange peel or pitting.During application, inspect the leveling property in real time. If any defects are found, immediately touch them up by gently wiping with a dedicated solvent.

        floor coating

        3、Precautions

        Post-application Curing

        No foot traffic is allowed on the coated surface within 24 hours after topcoat application, and the surface can only bear loads after complete curing in 7 days. During the curing period, the construction area shall be closed off and warning signs shall be posted to prevent the coating from coming into contact with water, oil and chemical substances.

        Maintain a well-ventilated curing environment with the temperature controlled between 10–35℃. After 48 hours, the stain resistance can be tested by gently wiping the surface with a damp cloth; avoid scratching with hard objects.

        The recoating interval shall be strictly followed in accordance with the material instructions. Ensure that the subsequent coating is applied after the previous coat is surface-dry but before it is completely dry, so as to prevent the reduction of interlayer adhesion.

        Safety and Environmental Requirements

        During the application of solvent-based epoxy materials, adequate ventilation must be maintained at all times. Construction personnel shall wear a full set of protective equipment (including gas masks, gloves, goggles, etc.). Smoking and open flames are strictly prohibited in the construction area.

        Material wastes (such as discarded paint buckets and solvent-soaked rags) shall be treated as hazardous waste and disposed of by professional institutions; random disposal is strictly forbidden.

        In case of sudden conditions such as rain or temperature drop during construction, stop the operation immediately. Cover the coated areas with plastic sheeting for protection, and pay special attention to moisture-proofing of the solvent-based epoxy coatings.

        Summary: The core of epoxy floor coating construction lies in attention to details. From base surface preparation and material proportioning, to process operation and post-application curing, every step must strictly comply with construction standards and product specifications. It is recommended to select professional floor coating suppliers and construction teams, which can maximize construction quality and extend the service life of the floor.