



A scratched, dull epoxy floor isn’t automatically a tear-out job. If the coating underneath is still firmly bonded, a compatible polyaspartic topcoat can bring the finish back without starting over.
So yes, you can apply polyaspartic over epoxy. Two conditions come attached: the products have to work together, and the epoxy has to be prepared properly. Several manufacturers sell systems built on an epoxy base with a polyaspartic finish. That doesn’t mean any polyaspartic will bond to any old epoxy floor.
For contractors, distributors, and facility owners, the real question is simple: is the existing coating a trustworthy foundation? A tough topcoat can’t rescue peeling epoxy, trapped contamination, or a problem sitting under the slab. This guide covers what to check first, how to prep, and when recoating makes sense.
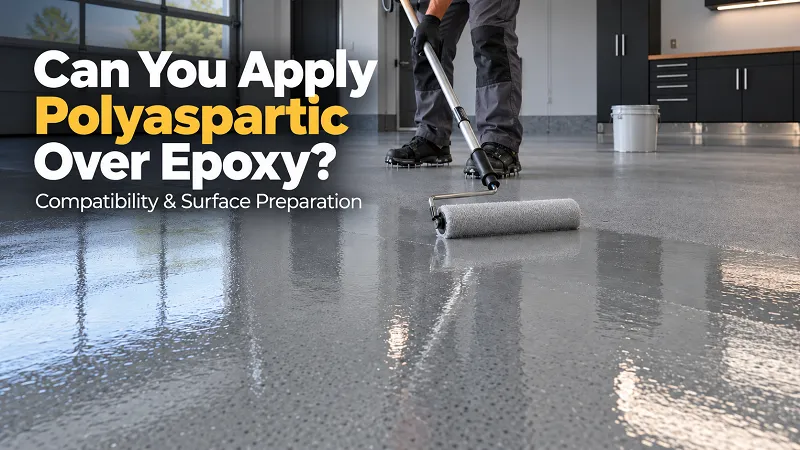
Why Put Polyaspartic on an Epoxy Floor?
The two chemistries often do different jobs in the same system. Epoxy works as the primer, body coat, or decorative base. Polyaspartic goes on top as the exposed wear surface.
Depending on the formulation, a polyaspartic floor coating can cure fast, resist abrasion, and hold up under UV. That matters on jobs where downtime costs money and appearance counts. Still, check every performance claim against the specific product’s technical data sheet.
Projects usually fall into one of two groups. In a new installation, a compatible polyaspartic finish is specified over freshly applied epoxy. In a renovation, a sound existing epoxy surface is prepped and recoated to refresh the finish.
Renovation takes more detective work. An older floor may carry cleaning residue, patches of local damage, or several layers of coatings nobody can identify anymore.
Check Compatibility Before You Buy Anything
“Epoxy” and “polyaspartic” are broad categories. Matching the category tells you nothing about whether two specific products will bond.
Start by identifying what’s on the floor. Old invoices, empty pails, installation records, or the original contractor can all help. Then put these questions to the topcoat supplier:
- Is the product approved over this epoxy?
- Does it suit smooth surfaces, broadcast surfaces, or both?
- What prep does it require, and does it need a primer or tie coat?
- What are the minimum and maximum recoat windows?
- What film thickness and application conditions does it specify?
A system approved by a single manufacturer is a much safer starting point than a mix-and-match. If you do combine suppliers, get technical confirmation in writing and run a representative test area first.
Compatibility also depends on how the floor will be used. A combination that’s fine for a decorative garage may fall short in a plant with chemical exposure, heavy traffic, or constant wet cleaning.
Inspect the Existing Epoxy
Before any sanding or mixing, walk the whole floor, including edges, doorways, joints, and the spots under equipment. A surface that looks fine from across the room can hide small patches where the coating has let go. Find them now, not after the topcoat is down.
| What you see | What to do next |
|---|---|
| Well-bonded coating, light wear | Confirm compatibility, then plan a test area |
| Intact but glossy epoxy | Mechanically prepare per the topcoat’s instructions |
| Local peeling or damage | Cut out unsound material and repair, then reassess |
| Widespread delamination | Find the cause of the failure before recoating anything |
| Soft, tacky, or poorly cured coating | Remove or correct the defective layer |
| Oil or chemical contamination that keeps returning | Decide whether reliable cleaning is even possible |
| Blistering linked to moisture | Investigate the slab and its moisture conditions |
Judge the floor by bond strength and condition, not by looks. A worn but well-bonded floor is a reasonable recoat candidate. A floor that keeps lifting at the same parking spots is telling you something, and a new topcoat won’t change the answer.
New Epoxy vs. Old Epoxy
Over fresh epoxy, follow the approved system’s recoat schedule. The epoxy must reach the specified condition before the polyaspartic goes on, but waiting for full cure isn’t always required, and it isn’t always wise. Many systems define an intercoat window. Log the application time and the real site conditions, since temperature shifts change the timing. Another project’s schedule won’t necessarily fit yours.
Over fully cured epoxy, you’re normally past the original recoat window, so mechanical preparation carries much more weight. Sika, for instance, calls for mechanical grinding and dust removal before its Sikafloor-530 polyaspartic topcoat goes onto an existing coating. The exact procedure still depends on the product and the floor. Washing a glossy surface doesn’t count as preparation.
How to Prepare Epoxy Before Applying Polyaspartic
1. Clean first. Remove dirt, grease, wax, and cleaning residue with a method that suits the existing coating. Do this before grinding, otherwise the grinder simply spreads contamination around. Parking positions, machinery locations, and anywhere maintenance chemicals have been used deserve extra attention. Let the floor dry completely after wet cleaning and follow the supplier’s instructions for any further cleaning.
2. Remove anything unsound. Loose or poorly bonded coating can’t stay under a new finish. Cut back to a solid foundation. If that exposes bare concrete, prepare and repair those areas as part of the full system, and ask the supplier how to treat the patched sections and the intact epoxy, since the two can behave differently.
3. Prepare the surface mechanically. Aim for the profile the chosen polyaspartic requires. Consistency matters, and walls, corners, and equipment bases are the easy places to miss. Don’t pick a grit from a generic online guide. Different systems call for different methods, and the goal is the required surface condition without chewing up the coating underneath. Epoxy manufacturers also specify extra preparation once the maximum recoat interval has passed.
4. Repair defects and review joints. Fill chips and holes with compatible materials. Joints need their own thinking: not every visible line should be filled and coated over, so work out what the joint does and follow the specified detail. Let repairs cure and get prepped before the next layer goes on, or they become one more weak interface in the floor.
5. Remove the dust. Vacuum thoroughly after grinding, including edges and repairs. Leftover dust is a thin layer sitting between the epoxy and the new finish. On broadcast floors, clear loose decorative material according to the system procedure. Application rates for approved polyaspartics can differ between smooth and broadcast surfaces.
6. Do a test area. This is most useful when the floor is old or its history is unclear. Use the same cleaning, prep, repair materials, and application method planned for the real job. After the specified cure time, check the finish and run the adhesion test the supplier or specification recommends. The test patch also shows real material consumption and whether the result meets the customer’s expectations.
Check Site Conditions
An intact epoxy surface doesn’t excuse you from checking the environment. Measure air temperature, floor temperature, humidity, and condensation risk against the product’s requirements. Sika’s Sikafloor-264 Plus epoxy, for example, requires the substrate and uncured coating to stay at least 3°C above the dew point. That’s a requirement for that epoxy, though. Your polyaspartic topcoat has its own limits, so read its data sheet.
If the floor already shows moisture-related failure, look at the concrete and the system beneath it. A new finish is not a repair for unresolved moisture transmission, and substrate moisture assessment belongs in any proper resin flooring preparation.
Applying the Topcoat
Once the floor is approved and prepped, the data sheet runs the show. Mixing ratios vary by product, so don’t assume 1:1, and confirm whether the ratio is by weight or by volume. Size your batches to the working time, the floor layout, and the crew. Finish prep and set out tools before anything gets mixed.
Apply the specified film thickness and coverage. A thicker coat isn’t a better one, and smooth floors and decorative broadcast systems often need different quantities and techniques. Protect the fresh coating as instructed, and keep foot traffic, vehicle traffic, and full service times separate in your head. They are not the same date.
Frequently Asked Questions
Can you apply polyaspartic directly over glossy epoxy?
Not without prep. Gloss alone doesn’t mean the surface is ready. Follow the approved preparation procedure and run a test area where needed.
Does the epoxy need to be fully cured first?
Not always. A new, approved system may define an intercoat window ahead of full cure. An older, fully cured floor needs assessment and the specified preparation.
Is a primer always required?
There’s no universal answer. Some approved systems go straight over prepped epoxy, and others need a primer or tie coat.
Will a clear topcoat hide scratches or yellowing?
Don’t count on it. Clear finishes tend to show existing discoloration and defects, not conceal them. Judge a test area before committing the whole floor.
Can polyaspartic fix peeling epoxy?
No. Covering an unsound layer just hides the problem for a while. Remove the defective material and find out why it failed.
Choosing the Right System
Polyaspartic over epoxy works when the existing coating is sound, the products are compatible, and the prep is done right. Before choosing a system, give your supplier the existing coating details, floor condition, traffic loads, exposure conditions, and available downtime. That information is far more useful than picking a topcoat on cure speed alone.
If you’re planning a project with Jincheng Resin, send photos of the floor and any product records you have. From there, we can work out the right epoxy floor coating and polyaspartic floor coating combination, along with a prep and application plan that fits your actual site.